
Roofing Tips & Guides
Expert Roofing Advice for Charlotte Homeowners
Learn from Charlotte's trusted roofing experts. Tips on maintenance, repair, replacement, and protecting your home from the elements.
Learn from Charlotte's trusted roofing experts. Tips on maintenance, repair, replacement, and protecting your home from the elements.

Worried about your roof after a big storm? You're not alone. Every year, thousands of Charlotte homeowners face unexpected roofing repairs because they missed the early warning signs of storm damage. The truth is, some of the most destructive roof problems start small and hide in plain sight – until they suddenly become major (and expensive) headaches.
Storm damage doesn't always announce itself with dramatic leaks or missing shingles. Often, the most serious problems begin with subtle changes that go unnoticed for weeks or months:
"The average homeowner misses about 70% of early roof damage indicators," says James Turner, owner of Best Roofing Now. "By the time water starts dripping through your ceiling, you're often looking at damage that's been developing for months."
The good news? Most of these problems are completely preventable with regular checks – especially after severe weather. That's why we've created this comprehensive storm damage checklist to help you protect your biggest investment.
Start by walking around your home's perimeter. Look for:
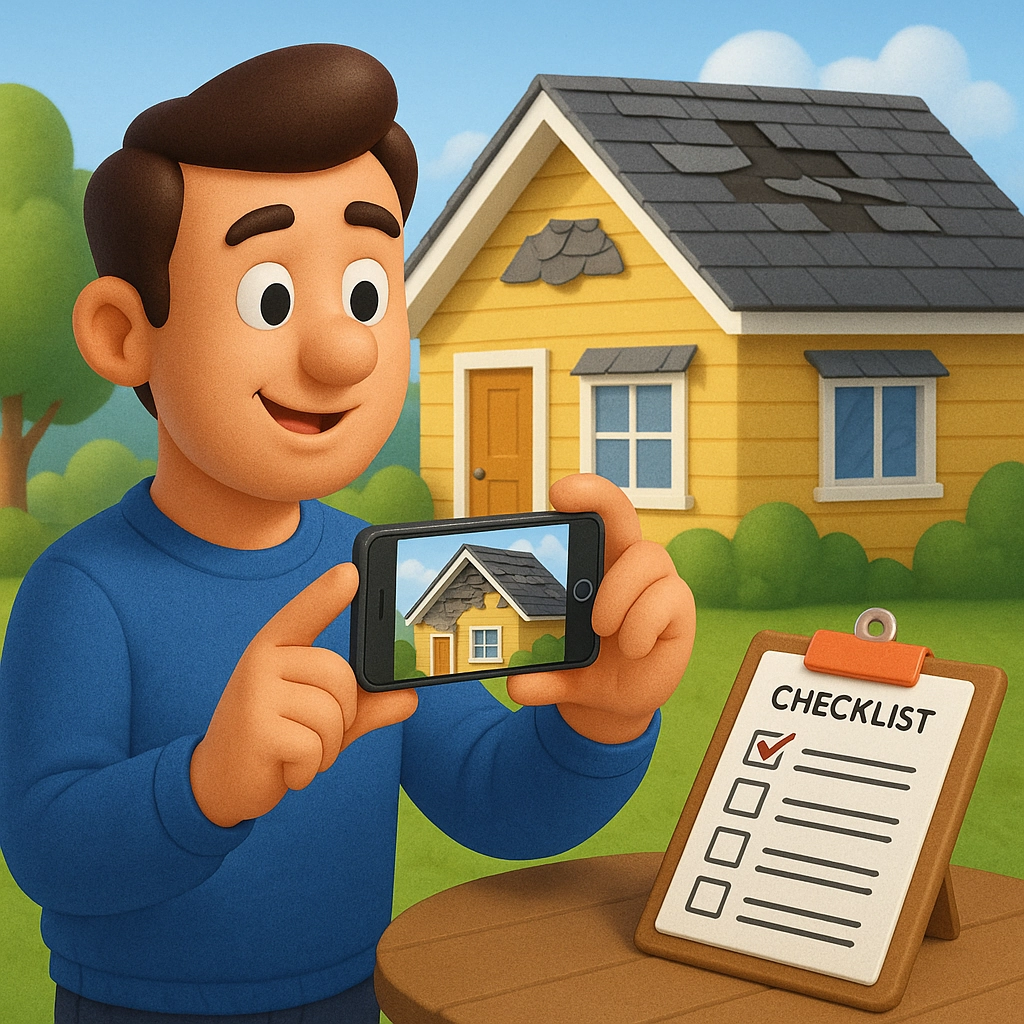
Take photos of anything suspicious – these will be valuable for insurance claims if needed.
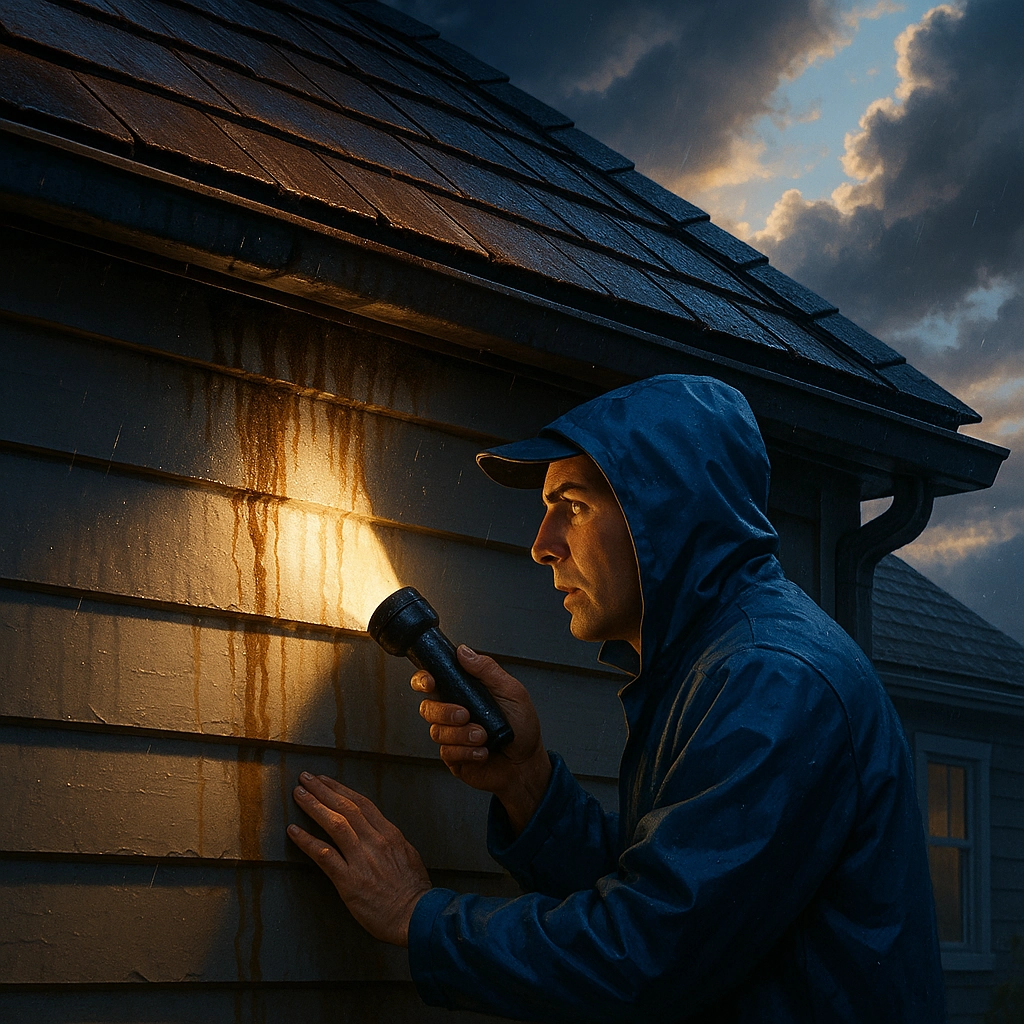
Examine your home's exterior walls for:
These signs often appear when water is escaping from damaged roof areas and running down your walls.
Your attic tells the truth about your roof's condition. Grab a flashlight and check for:
Pro tip: Do this inspection during daylight hours with the attic lights off to better spot any pinhole leaks allowing light through.
If you can safely view your roof from a window, ladder, or with binoculars, look for:
"Never underestimate the importance of shingle integrity," says our lead inspector. "A single damaged shingle can allow water to penetrate your roof system and cause thousands in structural damage."
Metal flashing creates a water-resistant barrier around roof transitions and penetrations. Check for:
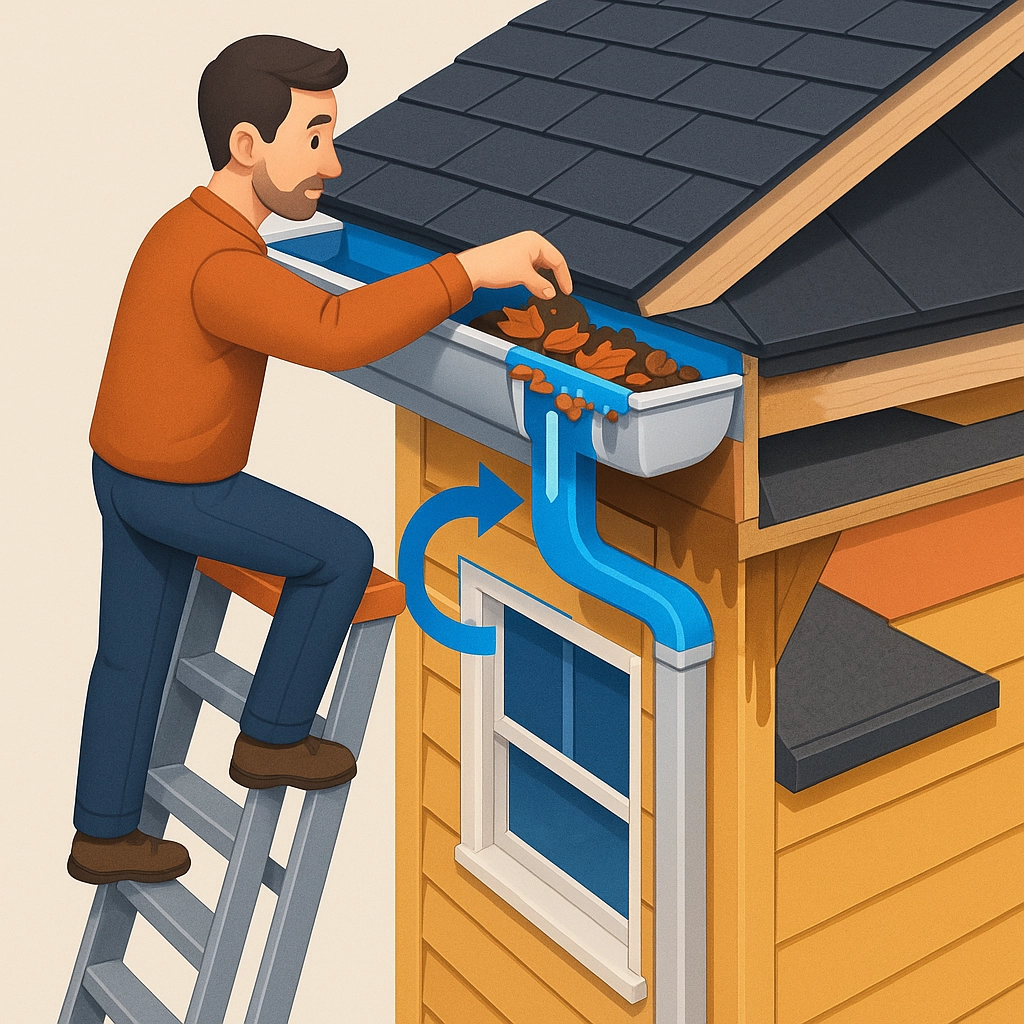
Functioning gutters are essential for proper roof drainage. Inspect for:
Your interior ceilings can reveal roof leaks before they become catastrophic:
Map these locations mentally – they'll help a professional roofer pinpoint the source of leaks, which is often not directly above the visible damage.
Proper roof ventilation prevents moisture buildup and extends shingle life:
Restricted ventilation can lead to premature shingle failure and voided warranties, so don't overlook this crucial component.
Chimneys are common leak points. Check for:
If you spot potential damage:
This documentation is invaluable when filing insurance claims or discussing repairs with contractors.
While this DIY inspection helps identify problems, certain situations warrant immediate professional attention:
After severe weather, professional roofing companies like Best Roofing Now offer emergency roof damage assessments to prevent further damage to your home.
Many homeowners delay roof inspections after storms, but this approach often backfires financially:
The average cost to repair a small roof leak is $300-$600, while extensive water damage can easily exceed $10,000 when you factor in interior repairs, mold remediation, and structural work.
Most homeowner's insurance policies cover sudden, accidental damage from storms, but there are important nuances to understand:
This is why proper documentation using our checklist is so valuable – it creates a clear record of storm-related damage that supports your insurance claim.
While you can't control the weather, you can prepare your roof to better withstand future storms:
At Best Roofing Now, we offer residential roofing maintenance plans designed to maximize your roof's lifespan and storm resilience.
If you've completed this checklist and found potential storm damage:
Remember that roof leaks never get better on their own – they only worsen with time and additional exposure to the elements.
Your roof is your home's first line of defense against the elements, but it can only protect you if you protect it. By using this checklist after storms, you're taking a proactive approach to home maintenance that can save thousands in repair costs and prevent the headaches of emergency repairs.
Don't wait until water is dripping through your ceiling to think about your roof's condition. Download our comprehensive checklist today, and make post-storm roof inspections a regular part of your home maintenance routine.
Best Roofing Now
Charlotte's trusted roofing experts since 2019
Based on this article, you may be interested in these services.
We proudly serve these Charlotte-area communities with professional roofing services.
View All Service Areas →Get a free roof inspection and honest assessment from Charlotte's most trusted roofing company.

